Mapping and Remapping Controllers in Retro Emulators: A Practical Setup Guide
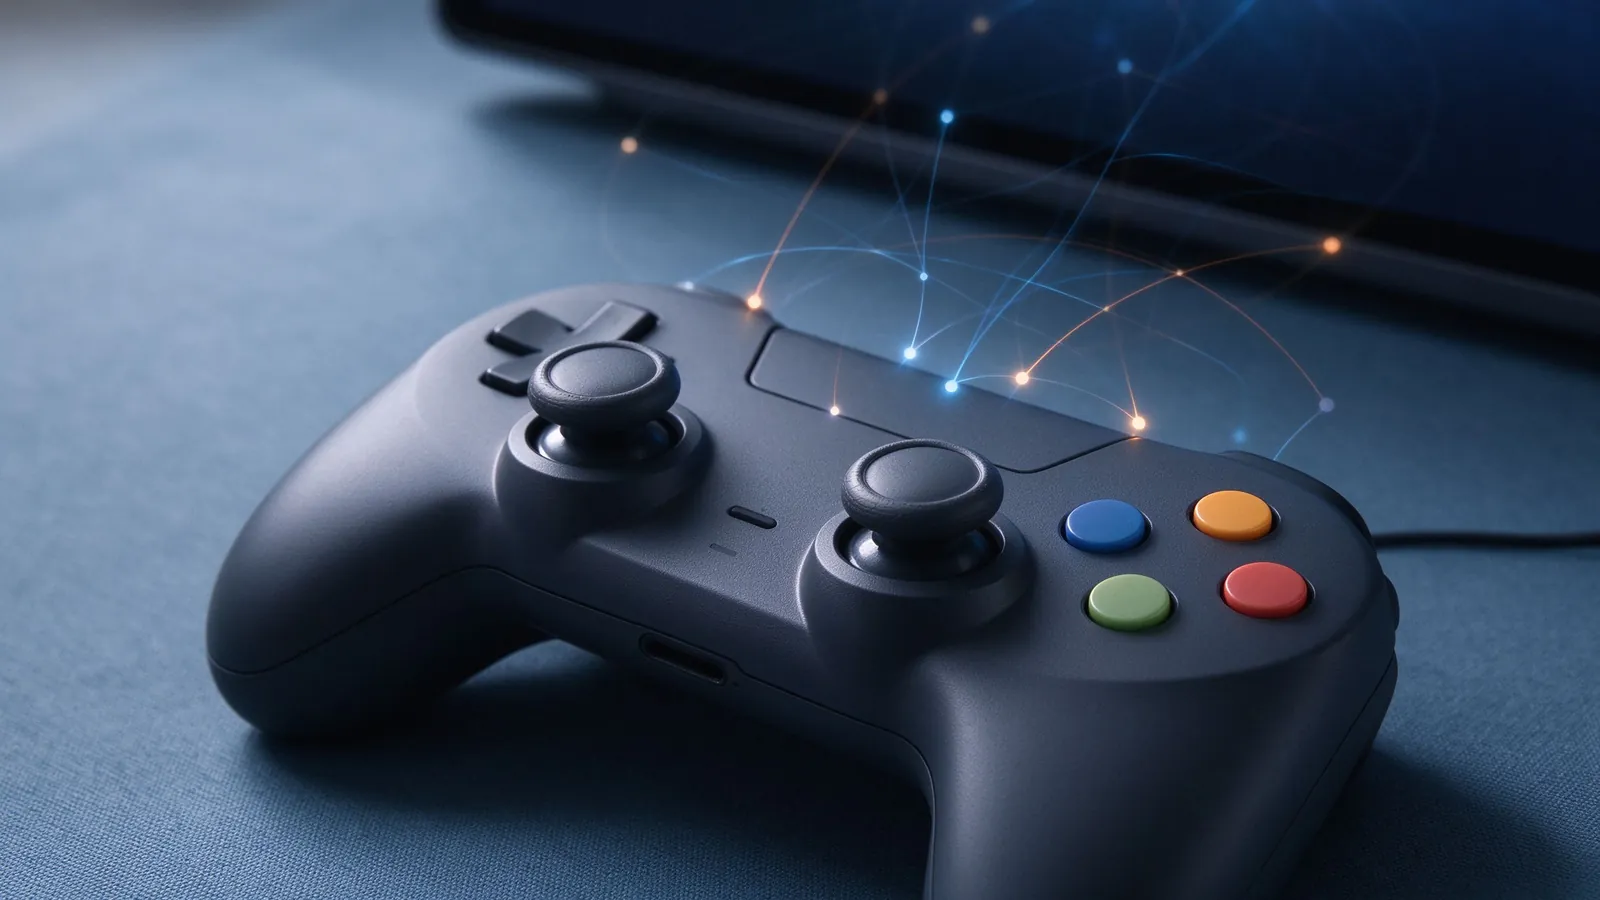
Mapping and remapping controllers in retro emulators means matching each pad button, stick and hotkey to the action the original console expected, and this practical guide shows a stable workflow for pads, keyboards and two-player setups.
A keyboard works for testing a new core, but a physical pad is where retro game feel returns. Most emulators expose a bind menu with a button list, and remapping usually takes a few minutes per system: choose the device, assign the D-pad and face buttons, set shoulder buttons and triggers, then define a handful of hotkeys. The same controller can behave differently per core because NES uses two face buttons while N64 and Dreamcast add triggers, analog sticks and extra directions. Keep a sensible baseline, tweak problem titles individually, and save profiles so a fighting game pad layout does not leak into a platformer session.
Start with the device the emulator actually sees
Windows reports gamepads as either XInput or DirectInput devices, and some old adapters appear as generic joysticks with half the buttons visible. Open the emulator’s controller or input dialog first, check that the pad lights up when pressed, and identify its display name before binding anything. A connected fight stick may show under a different name than a regular pad, so player-one slot should point to the correct hardware. If an axis drifts at rest, set a small deadzone in the driver or core before assigning directions; remapping a drifting stick onto eight-way D-pad directions rarely fixes the underlying noise. Our notes on choosing a controller for retro emulation cover which pads fit how many systems.
Map the classic four-way layout, then the extras
For 8-bit and 16-bit systems such as NES, SNES, Genesis and GBA, bind the D-pad to the left stick or physical cross, keep face buttons on the right, place Start on the right shoulder or a dedicated button, and leave Select near it. Most players prefer face buttons arranged to mirror the original console rather than the modern Xbox layout, and retroarch remap files can swap A/B and X/Y for Japanese versus Western releases. Shoulder buttons map to L/R, and for PS1, N64 and Dreamcast assign triggers to the analog triggers only when a title uses them; otherwise map them to digital shoulders for consistent taps. Pressing the wrong key in a load screen costs less time after each profile matches the console era.
Per-core overrides versus a single global profile
One global mapping keeps settings consistent, but a few games deserve exceptions. Fighting titles benefit from precise face-button order and rapid turbo-free inputs; shoot-em-ups often prefer a stick or D-pad with slight sensitivity; N64 platformers need analog range, and games like GoldenEye-style titles rely on the stick to aim. Save an override file for that core or title rather than changing the global layout between sessions. In RetroArch-style programs, overrides live beside the main config and only affect the loaded core, which keeps the shared baseline clean. The beginner emulator basics page explains where these per-core settings usually live when a menu language differs.
Hotkeys, turbo and two-player shared pads
Bind a small set of hotkeys on a shoulder-plus-face combination rather than separate keys on the pad: save state, load state, fast forward, rewind where supported, and return to menu. Turbo or autofire should be per-player and disabled by default, because it ruins precision in turn-based RPGs and can fire at awkward moments in puzzle games. For two players, set player two to the second connected device or the half of a shared arcade stick, and verify both slots before a couch match; emulators do not always remember a profile that disappeared at shutdown. Keyboard-only players can map the arrow keys to movement and Z/X to primary buttons, leaving a spare row for hotkeys, but a pad or even a cheap USB controller makes modern portable games far easier to control.
When remapping goes wrong: reset and verify
If a character keeps walking upward or a button opens the menu instead of jumping, the likely cause is a crossed axis, a leftover global profile, or a key captured by a hotkey combination. Reset that core’s bind menu, reassign only the essentials, and test one title before adding extras. Save the finished profile with the device name and core in the filename, and keep a backup copy outside the program folder. A clean mapping reduces missed jumps, dropped combos and accidental resets, and it leaves the emulator focused on visuals and sound rather than input confusion.